If you've decided to have a go at taking decent bird photos, there's a good chance you've already made some attempts using equipment you already own, such as an old film SLR camera or a compact digital camera. If so, you've probably concluded from the dot in the middle of the picture that you need something with more magnification.
If you're a birdwatcher, you may have tried using your digital camera to take photos through your spotting scope (a technique known as 'digiscoping'). If so, you will have experienced the difficulties inherent in the technique: 'locking on' to your target, aligning camera and scope, minimizing equipment vibrations and timing the shot. You will also have realized that the technique is more suited to capturing record shots than high-quality images. A few bird photographers have mastered this technique to the extent that they can produce excellent images. Most serious bird photographers, though, believe that the best equipment for bird photography is a digital SLR camera with a long focal length telephoto lens. Shorter lenses have their place, e.g. when photographing bigger birds at close range, but your bird photography will be very limited if you don't have a long lens. I'll cover equipment selection in the next tutorial.
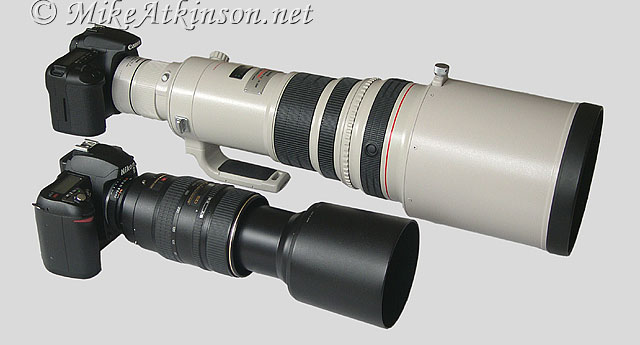
Typical bird photography equipment: An 80-400mm zoom lens (bottom) and a 500mm lens with 1.4x converter (top), both on digital SLR bodies
Once you've got hold of suitable gear, the best thing you can do is to get into a cycle of experimenting and learning: get stuck in and shoot any birds you can find, but also read as much as you can (from the Web, books, etc.) and talk to people who seem to have 'cracked it'. Be aware, though, that it's a big subject and the people who have mastered it can be reluctant to share what they've had to learn the hard way.
One way of shortening your learning curve is to book yourself on to a training session. Several photographers run these, myself included: contact me if you're interested.
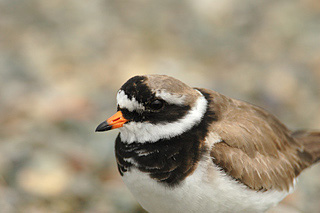
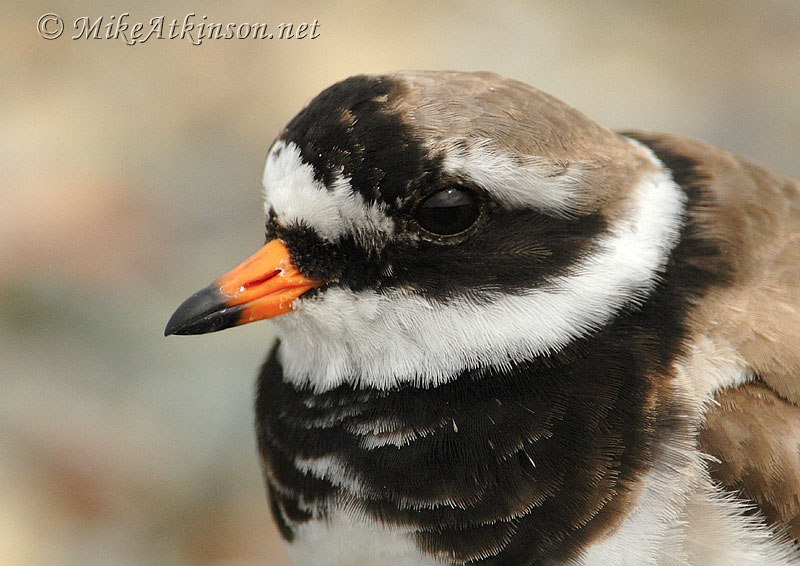
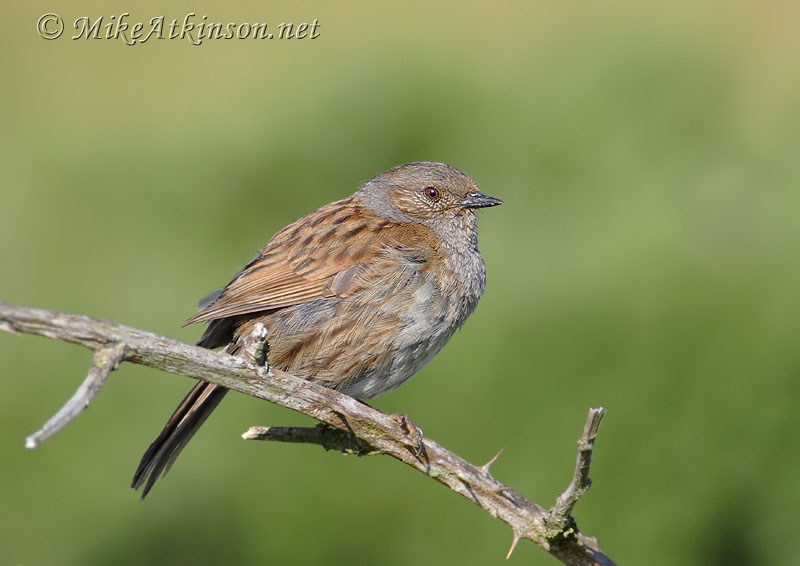
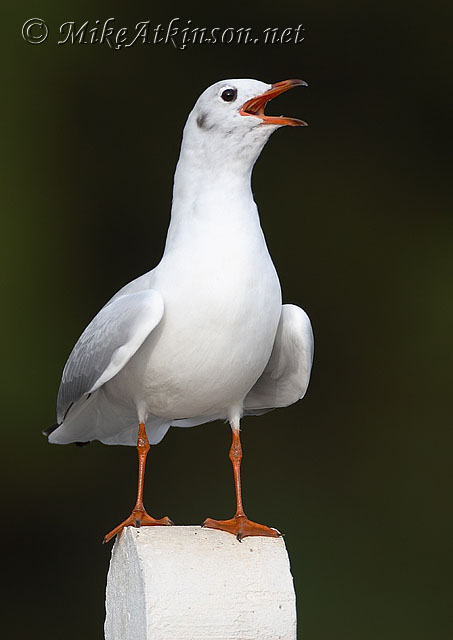
One of the best things you can do early on is to spend a lot of time photographing birds that are easy to get at: bird table visitors, wildfowl at your local park and birds in zoos or private collections.
If you're a birdwatcher, this is going to seem pretty boring compared with trying to photograph the rarer species you're used to seeking out, but it's important to understand that to take great bird photos, you need to be able to see the image, not the bird. You need lots of practice taking photos of 'easy' birds, so that you will be able to make the most of the situation when you get close to something a bit more exciting.
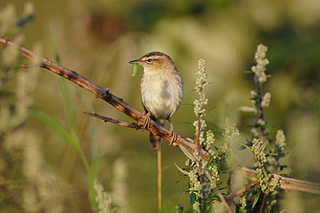
Soft targets: Easily accessible birds provide great opportunities to develop your technique. By photographing these, you'll start to see them in a new light.
In your early attempts, the main things to concentrate on are mastering the basics of controlling your gear to get sharp, well-exposed, pictures of these easy subjects. Don't be disheartened if the images don't turn out as well as you'd hoped: look at each image critically and see if you can work out exactly why it didn't work out, then try the same shot again with the benefit of what you've learned. The beauty of digital is that you can do all of this in the same session: find somewhere shaded where you can review your first shots on your camera's LCD screen. Check for overall composition: would the picture work if it was framed as you took it? If not, try zooming in a little bit and see if you can see a 'cropped' composition that would work.

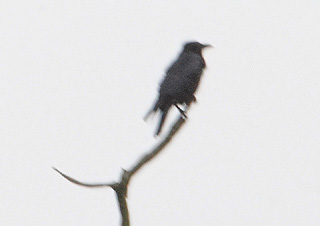
Framing: The original shot (above) doesn't work as a composition, because the bird is positioned too centrally and there's too much clutter in the frame, but cropping (below) shows the shot needn't be rejected.
Next, zoom right in to the maximum level and check for sharpness. If the image isn't sharp, see if you can tell whether it's due to focusing or to subject/camera movement.
If there's something else in the image that's sharp, but the bird looks generally fuzzy, it's probably a focusing problem. In this case, try the shot again, but concentrate on exactly where the autofocus point is located. Try to get this on the bird's eye: if the eye isn't sharp, the photo won't work; if the eye is sharp, it's surprising how much blur you can get away with in the rest of the bird's body.
Focusing problem: This is a typical problem with focusing: the autofocus has locked on to the water reflections behind the bird.
If you can see blur in one direction in the image, e.g. if everything is blurred vertically, then it's a movement problem. If the background is as blurred as the bird, the movement is in your camera gear. There are several options to solve this problem:
You can use a tripod, monopod, beanbag or some other improvised support to reduce camera movement.
You can practise your 'long lens technique', with a gentle shutter action, to improve your ability to hand-hold your gear.
You can use maximum aperture (and possibly a higher ISO setting) so that you can increase your shutter speed to freeze the movement better (eventually, you will want to use a low ISO setting to minimize noise in your images but, for now, this is less critical).
Equipment movement: This image shows diagonal 'camera shake'. Both the bird and the tree have the same directional blur from top-left to bottom-right. Lines parallel to the movement, such as the bird's legs, still appear relatively sharp.
If only the bird, or part of the bird, shows directional blur, this is caused by subject movement. In this case, you can still try the third option above, but an alternative is to try to time your picture taking to coincide with the brief moments when the bird stops moving. This is an important technique to develop.
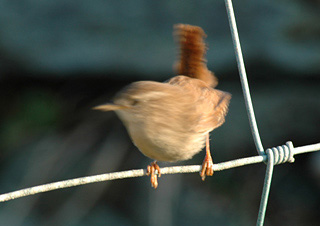
Subject movement: The wire fence is sharp both horizontally and vertically, as are the bird's legs, but the body and head are blurred due to the bird twisting sideways during the exposure.
If your camera can display a histogram view of your images, check that the distribution of pixel brightnesses is as far to the right as possible, without any 'clipping' of the brightest values. (In digital images, there is nothing you can do to recover 'blown highlights', but you can often extract an incredible amount of detail out of shadow areas in post-processing.)

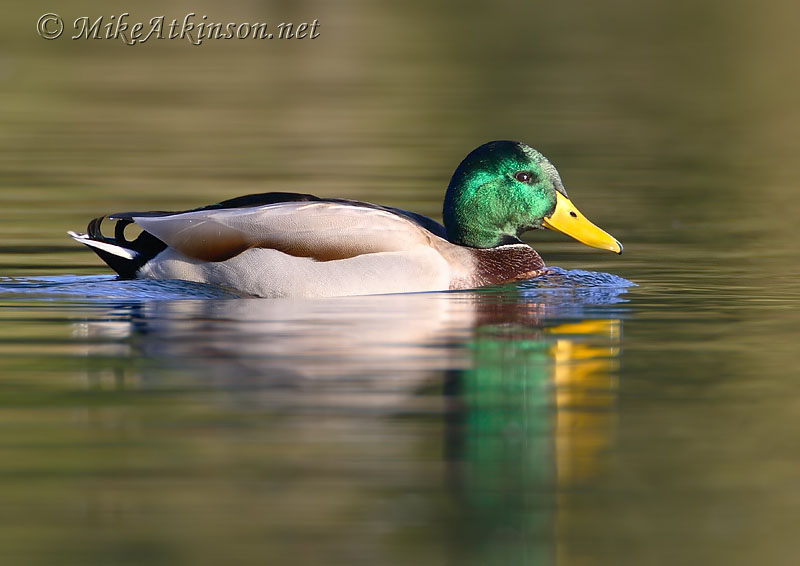
Overexposure: The histogram shows the bunching of pixels on the right-hand side, with a large number of pixels having the highest brightness value. These pixels correspond to the blown highlights in the bird's plumage and the water.
If your histogram is shifted too far to the right or left, try using a little bit of exposure compensation to overcome this. Your camera's meter will always try to make your image average out to a mid-tone grey. See if you can see why it caused the image to be under-exposed or over-exposed on this occasion. If you filled the frame with a white swan, your meter will have under-exposed this to make it a grey swan unless you added in some positive exposure compensation. Re-shoot the image, taking account of your conclusions. I'll cover camera settings and exposure in more detail in future tutorials.
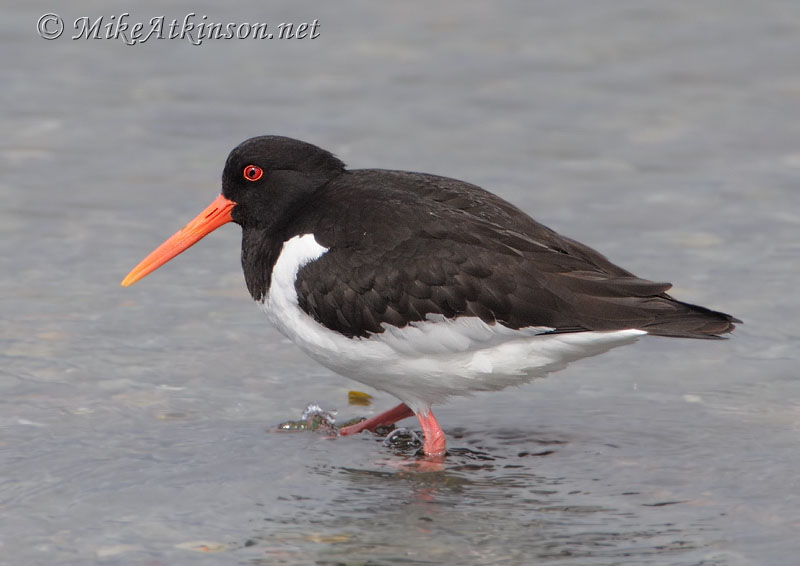

Correct exposure: The histogram shows a good distribution of pixels across all brightness values, with no pixels being 'clipped' at the highest and lowest brightness values. Note that feather detail is visible in both black and white plumage areas.
Once you've taken some shots that look good on your camera screen, transfer them to your computer and open them up in your image editor. Try a few combinations of cropping, brightness levels adjustment and sharpening and see if there's anything you're really happy with.
Don't be tempted to spend too long at this stage trying to rescue images in your image editor. It's better to learn how to capture good images at source. That said, even the best captures need some post-processing, so don't feel you're cheating by doing this.
Compare your images with other images of the same species on the Internet, e.g. using the BirdGuides species pages. You can try submitting your images to one of the on-line forums that has photo critique facilities (e.g. photo.net), but be aware that these are not always helpful.
I can also provide image critiques, so contact me if you're interested in this.
Once you've managed to take sharp, well-exposed images, the next step is to concentrate on the design of your images.
The chances are, your early attempts had the bird positioned centrally in the frame, or with the bird's eye positioned under the central focusing point. This is a good starting point, but can make for very boring, static images. You can make a huge difference to the impact of your images simply by making sure the bird is positioned well in relation to the overall frame. You can achieve this either in-camera, by using alternative focus points (or manual focus) to place the bird in an interesting position, or at the post-processing stage by using your image editor to crop your pictures differently. The first of these can be very difficult to do in the heat of the moment in the field; the second can lead to reduced image quality if the cropped area is much smaller than full-frame. I'd recommend using both of these techniques in combination to get the composition you want. I'll devote a whole tutorial to subject placement later in the series.
Subject placement: The original image (top) had a poor composition, but cropping in the image editor enables this to be re-framed.
Placing the bird in the frame is only one aspect of image composition. Other aspects include:
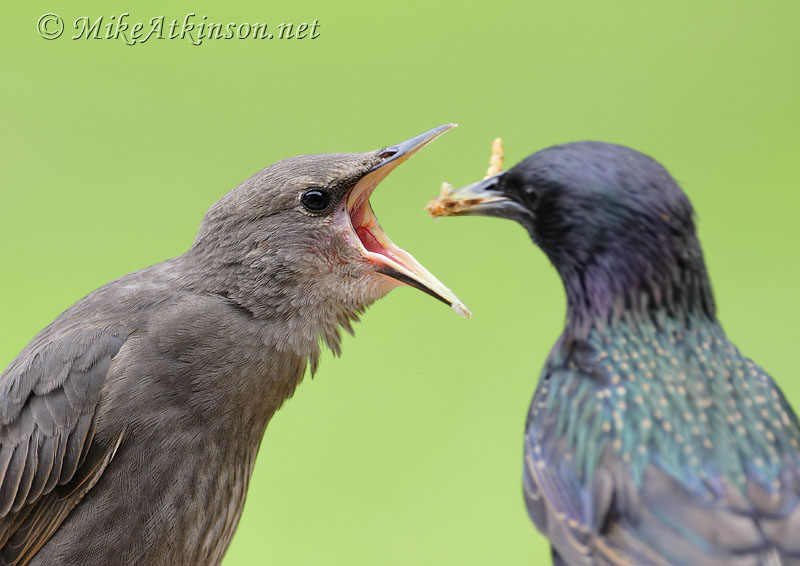
Pose: Try to capture the bird in an appealing or unusual pose, or doing something interesting, such as hunting, preening, displaying, flying or feeding.
Angle: Try to shoot so that you are at eye-level with the bird; this often means getting low to the ground, which is uncomfortable but can make a huge difference.
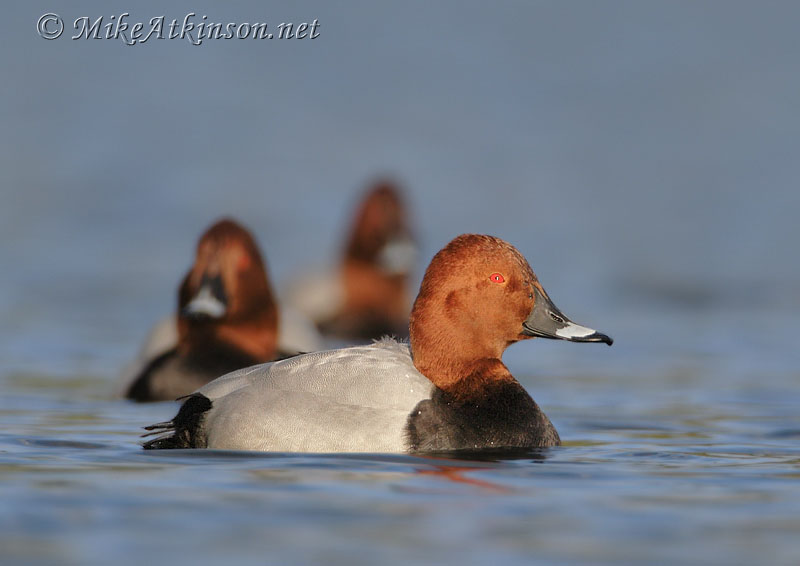
Background: Either go for an 'environmental shot' that depicts the bird in its typical habitat or try to get a uniform or uncluttered background so that the bird stands out clearly (long telephoto lenses make this much easier).
Foreground: Normally, avoid distracting elements such as stray vegetation appearing in front of your subject; even though this can sometimes be 'cloned out' in post-production, it's always better to avoid this in the first place if possible. Good foregrounds can add depth or interest value to your shots.
Simplicity: Where possible, reduce the composition so that it is made up of the minimum number of elements.
Size: If you can get close enough to the bird, think about whether a close crop - getting the bird, or even just part of the bird, to fill the frame - would make the image more dynamic, or whether it's better to give the bird some surrounding space.
Orientation: Try shooting some images, e.g. those of 'tall' birds, in portrait rather than landscape orientation.
Aesthetics: Look for factors such as line, shape, pattern, colour and texture to give your image a more artistic feel.
As a final point, always strive for the highest levels of ethics in your bird photography. Even if it means losing a perfect photo opportunity, the interests of the birds and their environment must come first.
If you're interested in getting some assistance with your bird photography, contact me. I'd be happy to give advice or to sign you up for one of my Bird Photography Workshops.